Jobs
Jobs page including Current Jobs, History Jobs and Job Orchestration Plan.
Current Jobs
After creating a new job, the job will be displayed on the Current job page, listing some basic information and status of the job, You can start, stop, delete, and perform other operations on these jobs by clicking on Monitoring Center > jobs > Current job
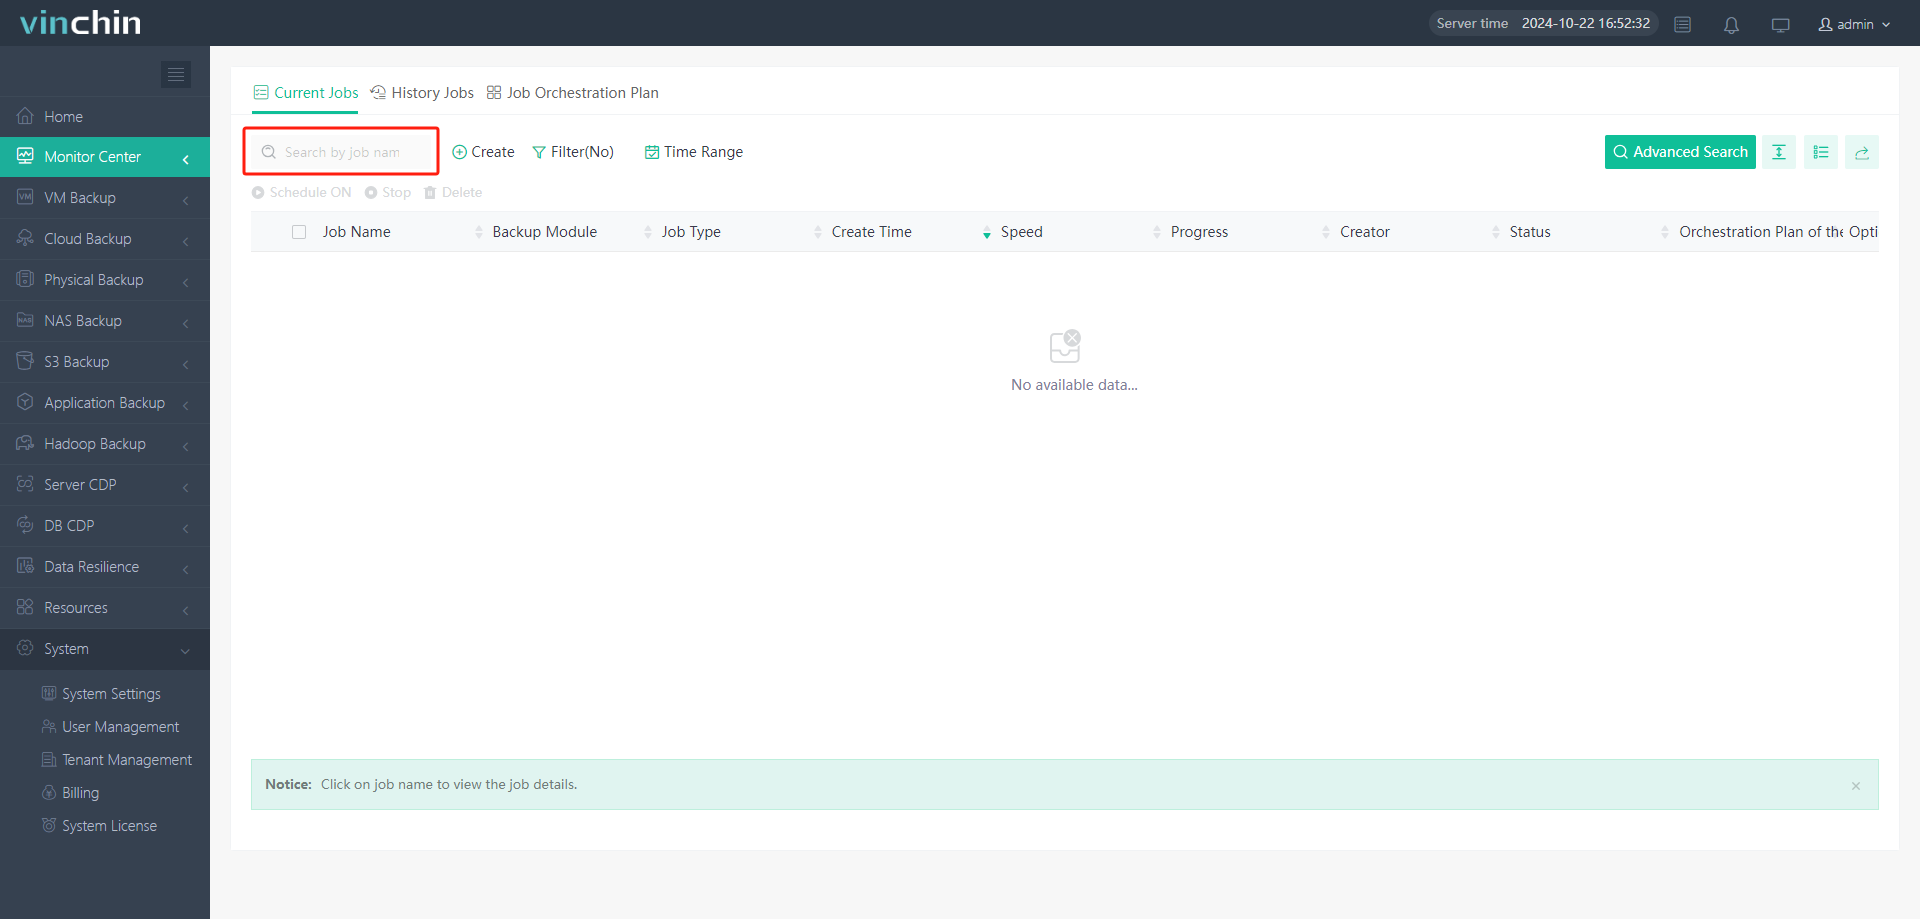
By entering the job name in the input box, you can retrieve the job listed below You also can use Advanced Search to search the job via Job Name, Username, Hostname, VM Name, Backup Module, Job Type, Backup Node and Storage.
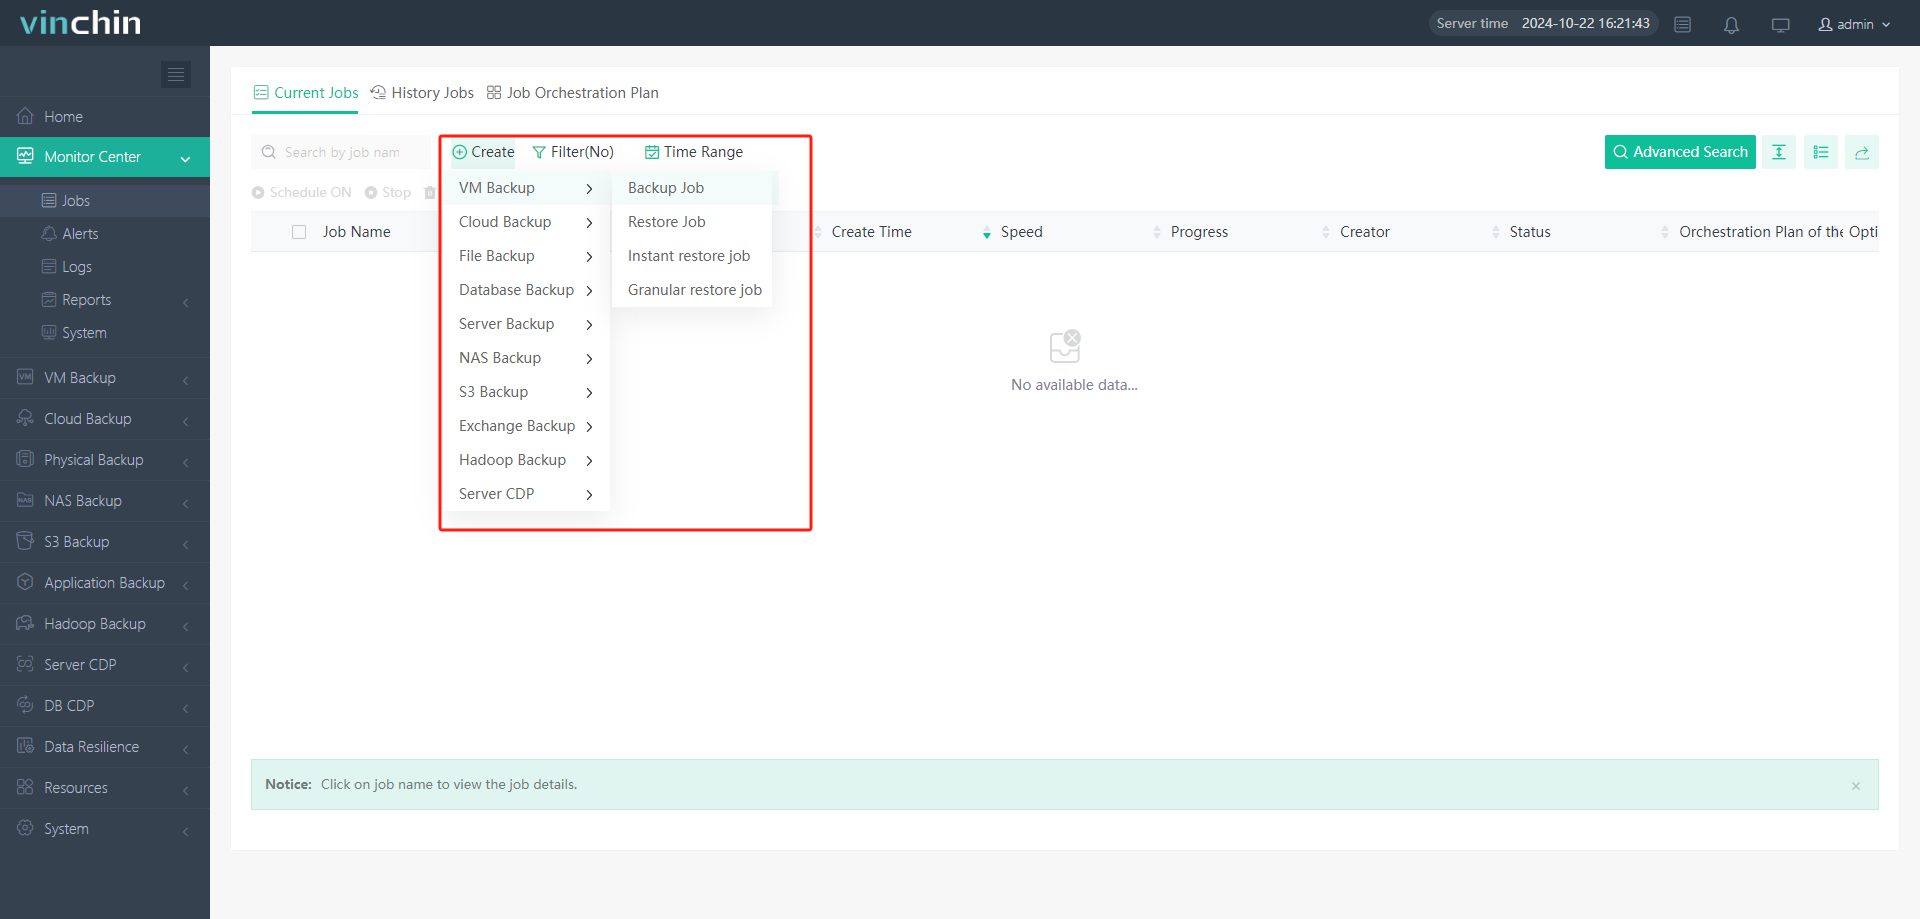
By clicking Create button, you will jump to different modules to create job:
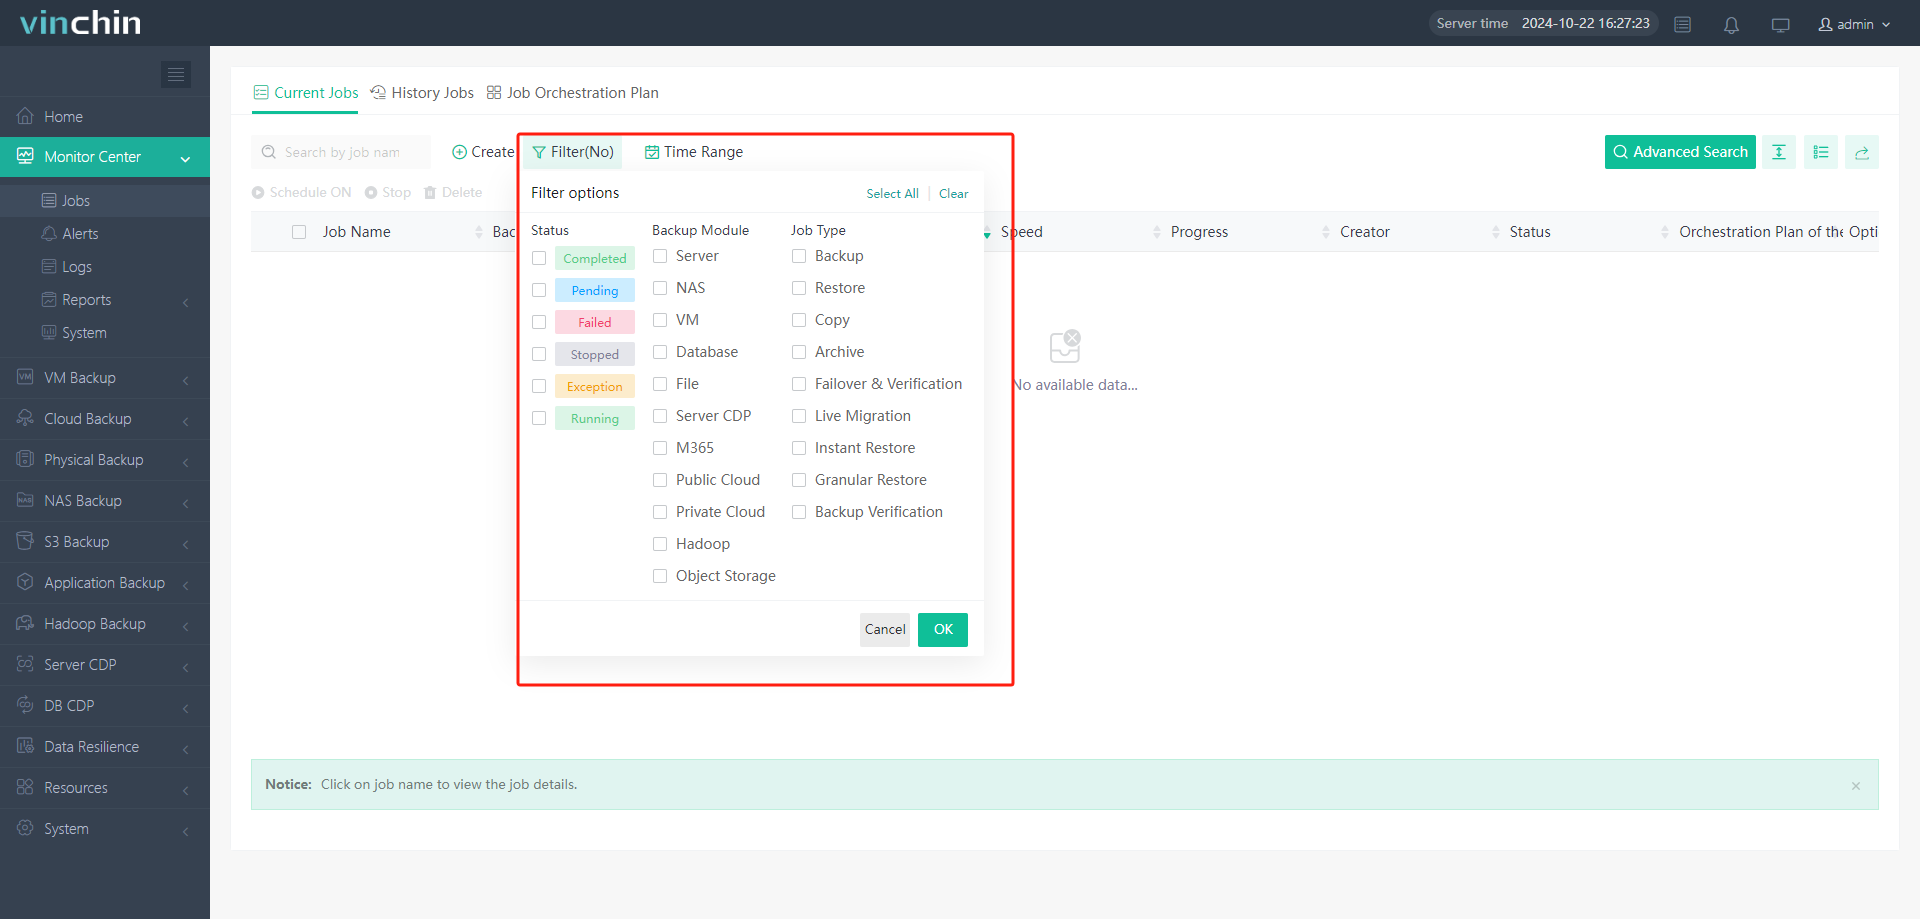
Use Filter(No), you can filter the required jobs based on their status, backup module type, and job type.
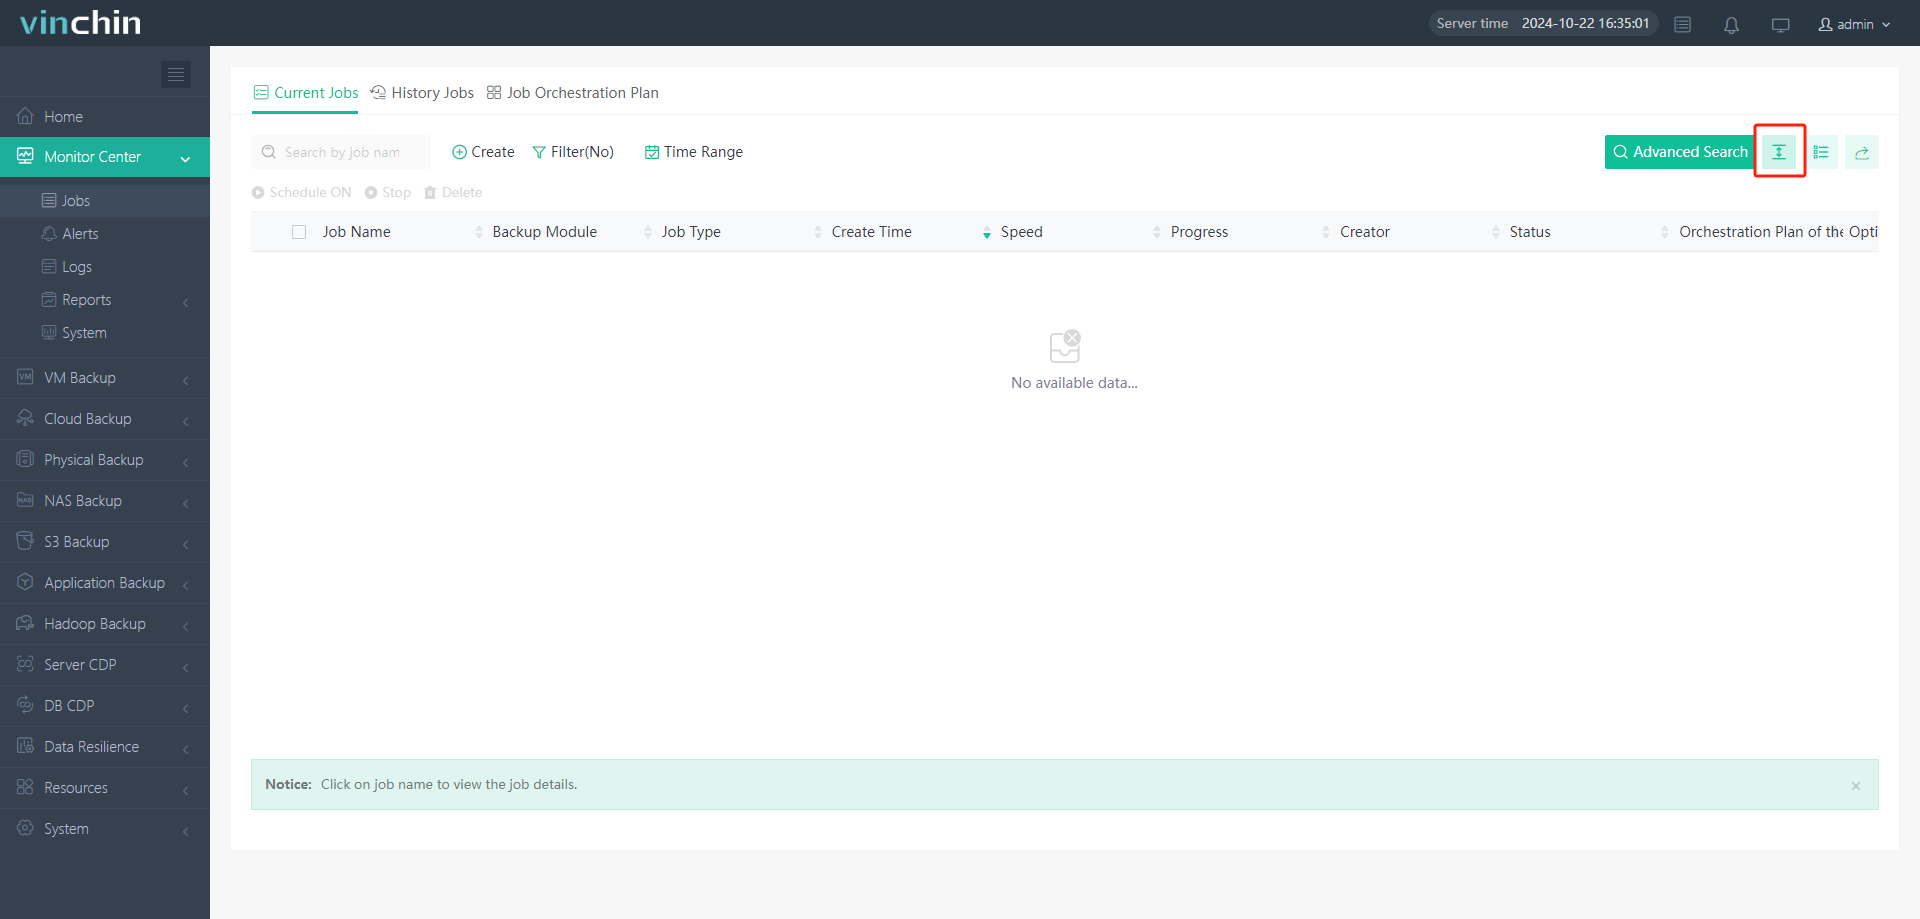
Click button  to change the height for every line of the list
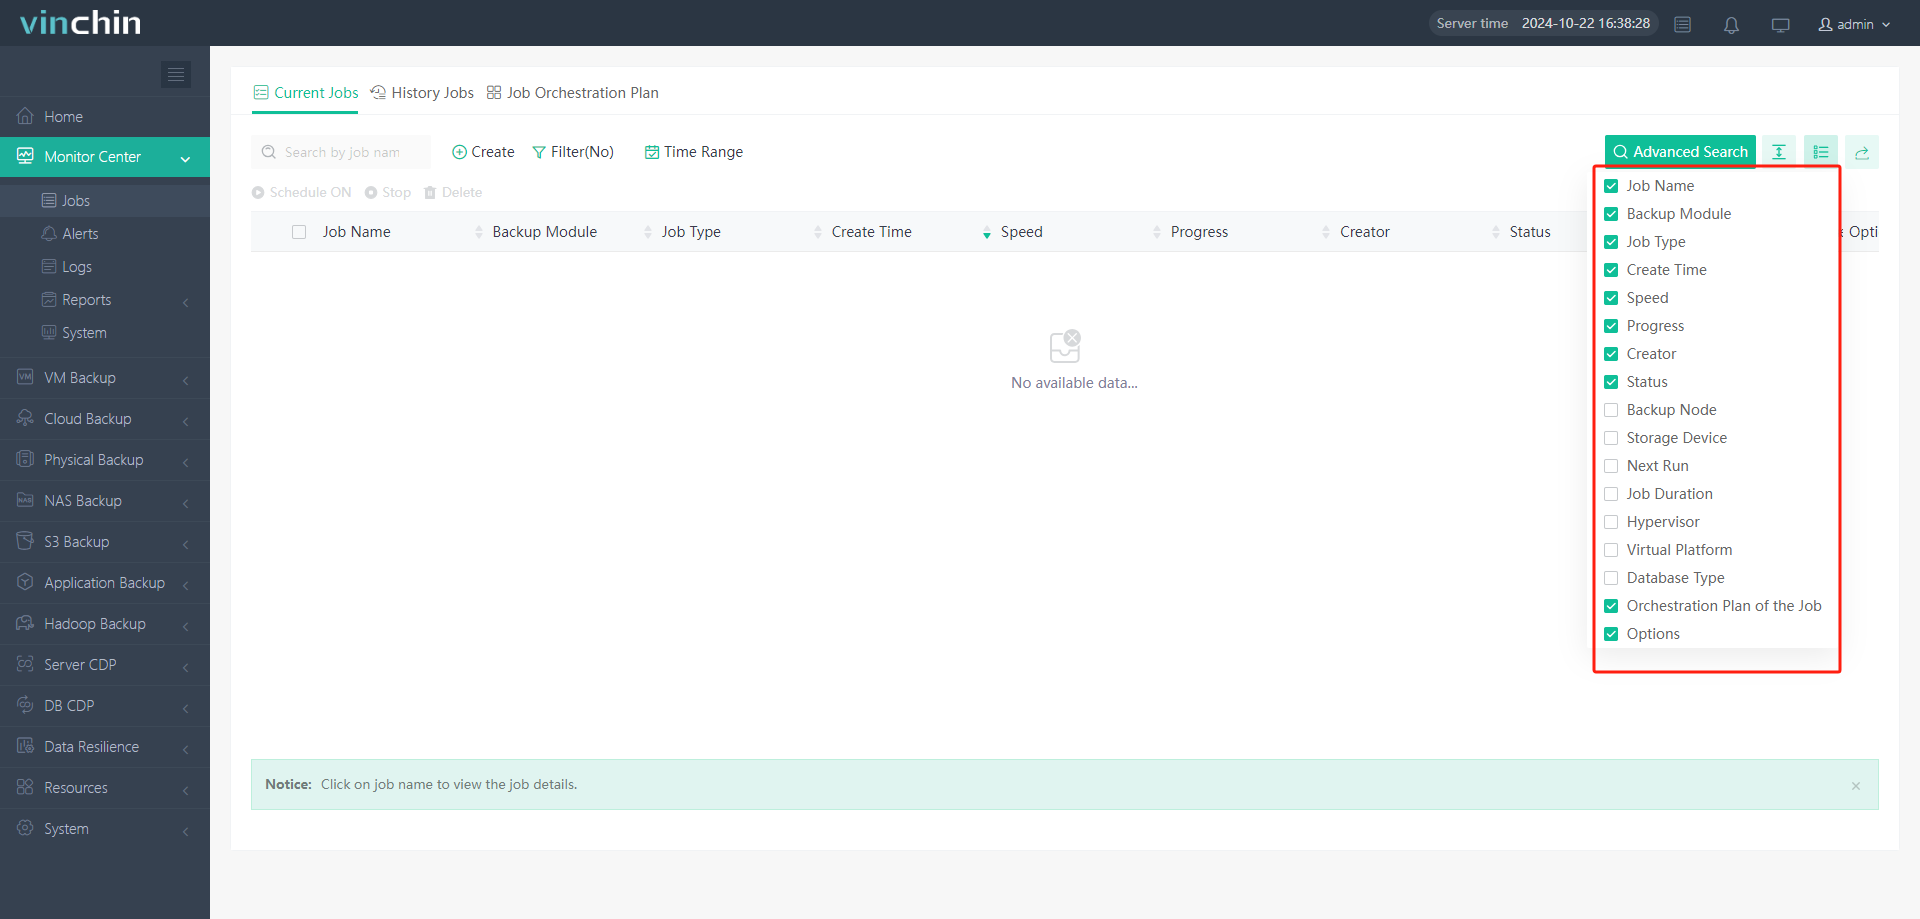
Click button  you can customize the display of list titles.
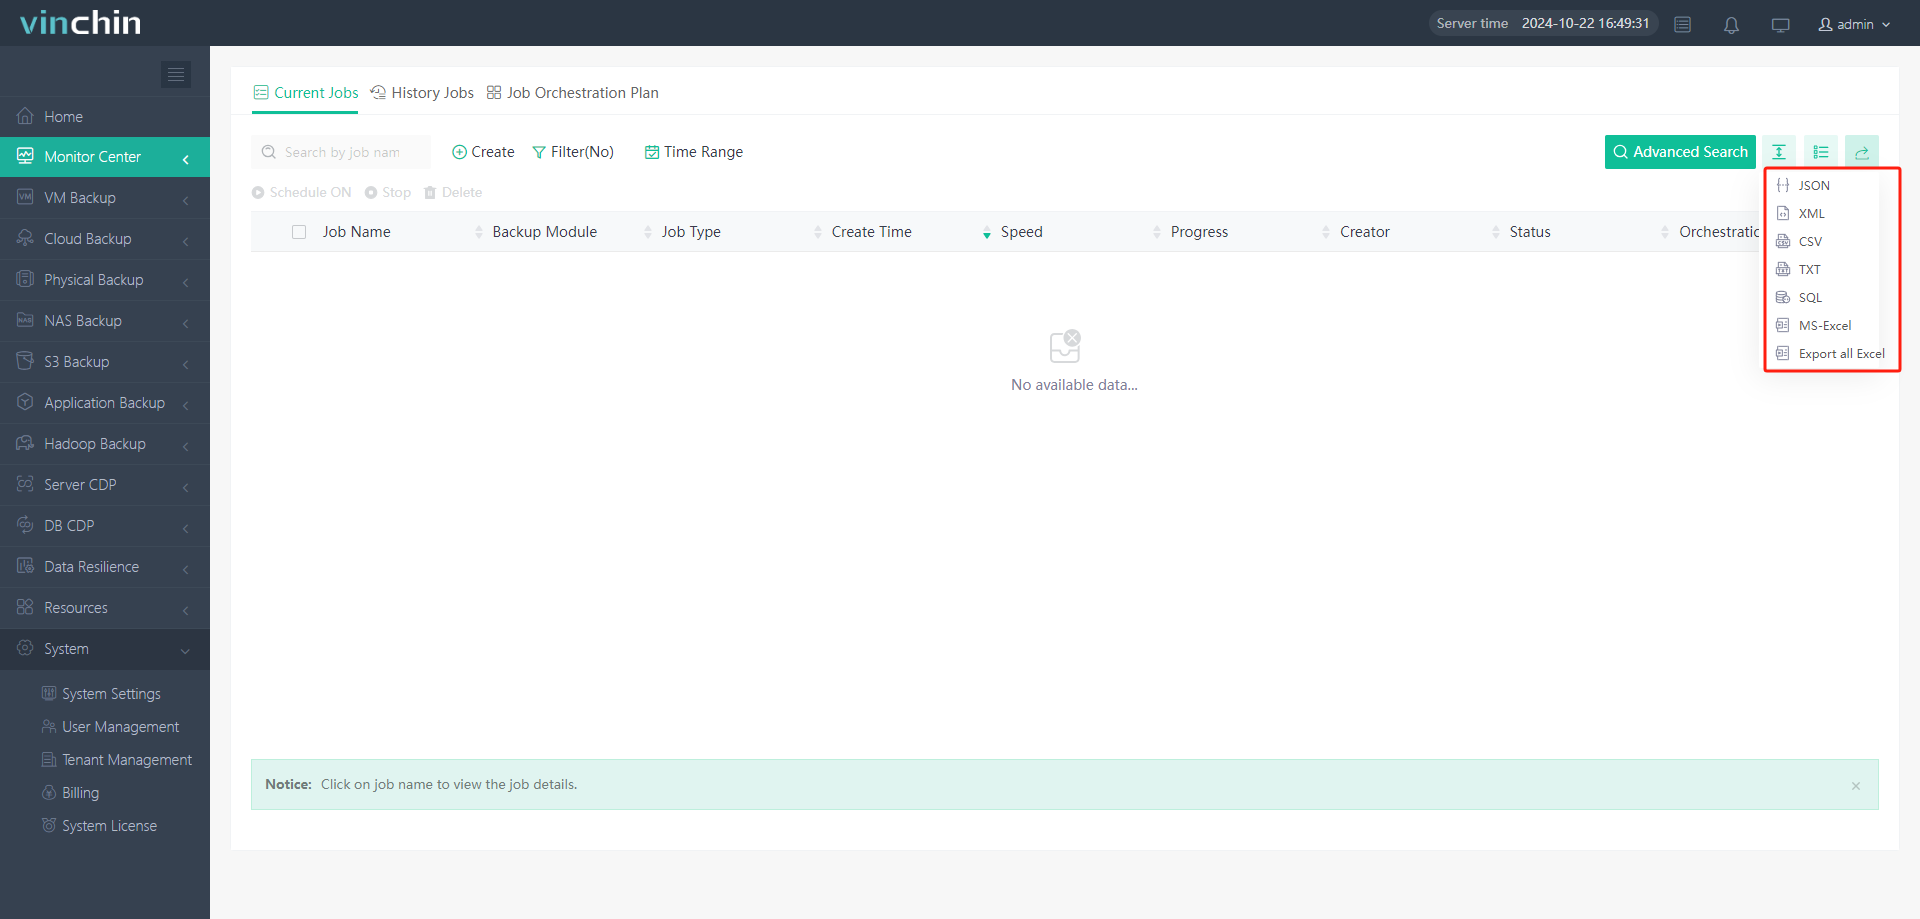
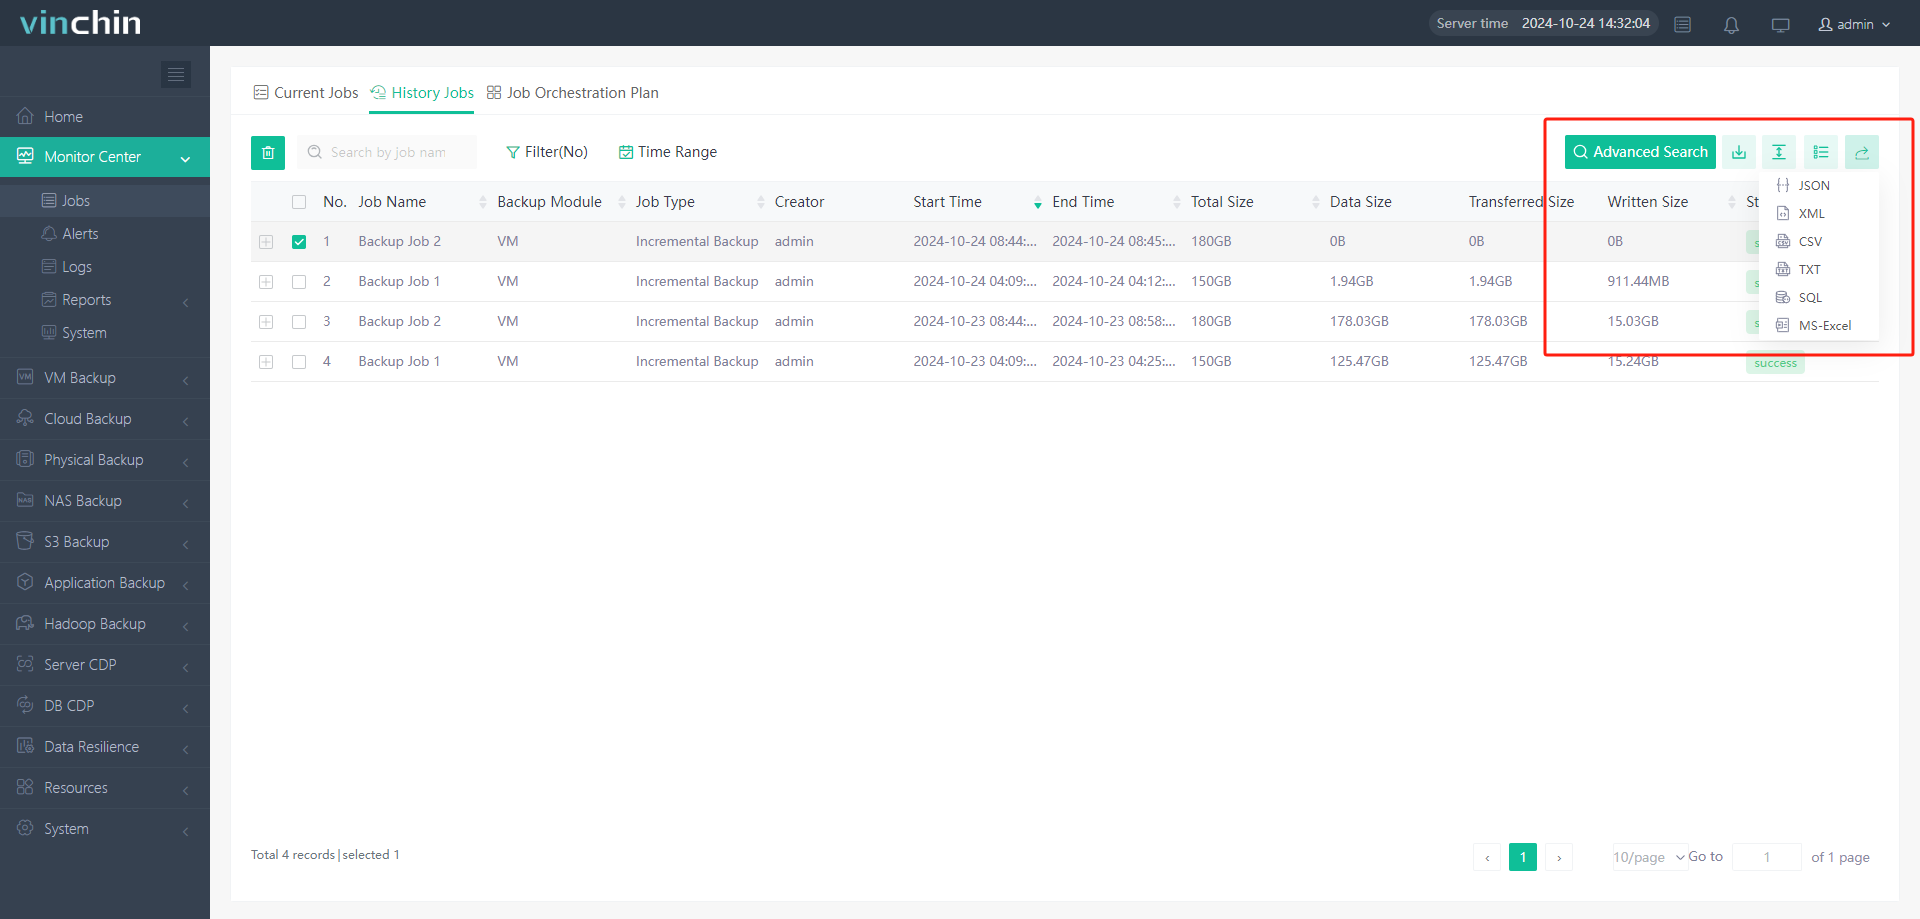
Click button  to export the list information.
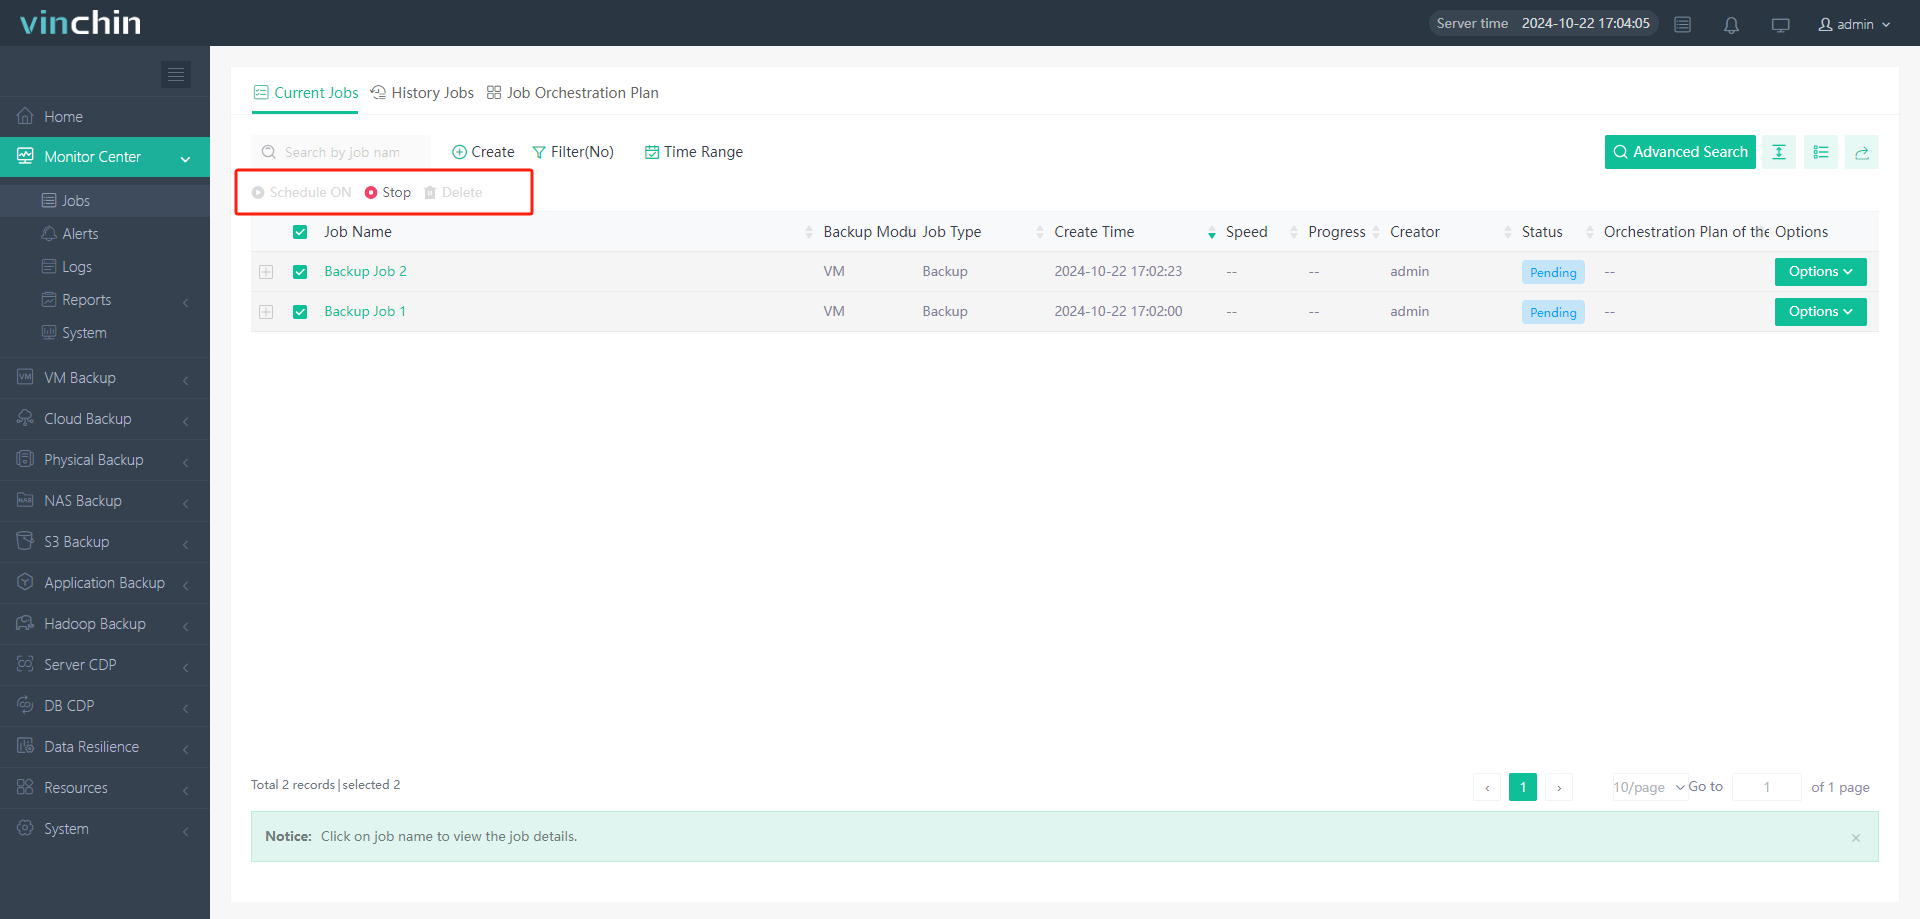
When there are multiple jobs, they can be uniformly operated by selecting these jobs, like schedule ON, Stop or Delete them. For the Options button, You can click it to start, stop, edit or delete a job, with different job tyep, the functions of the button are different.
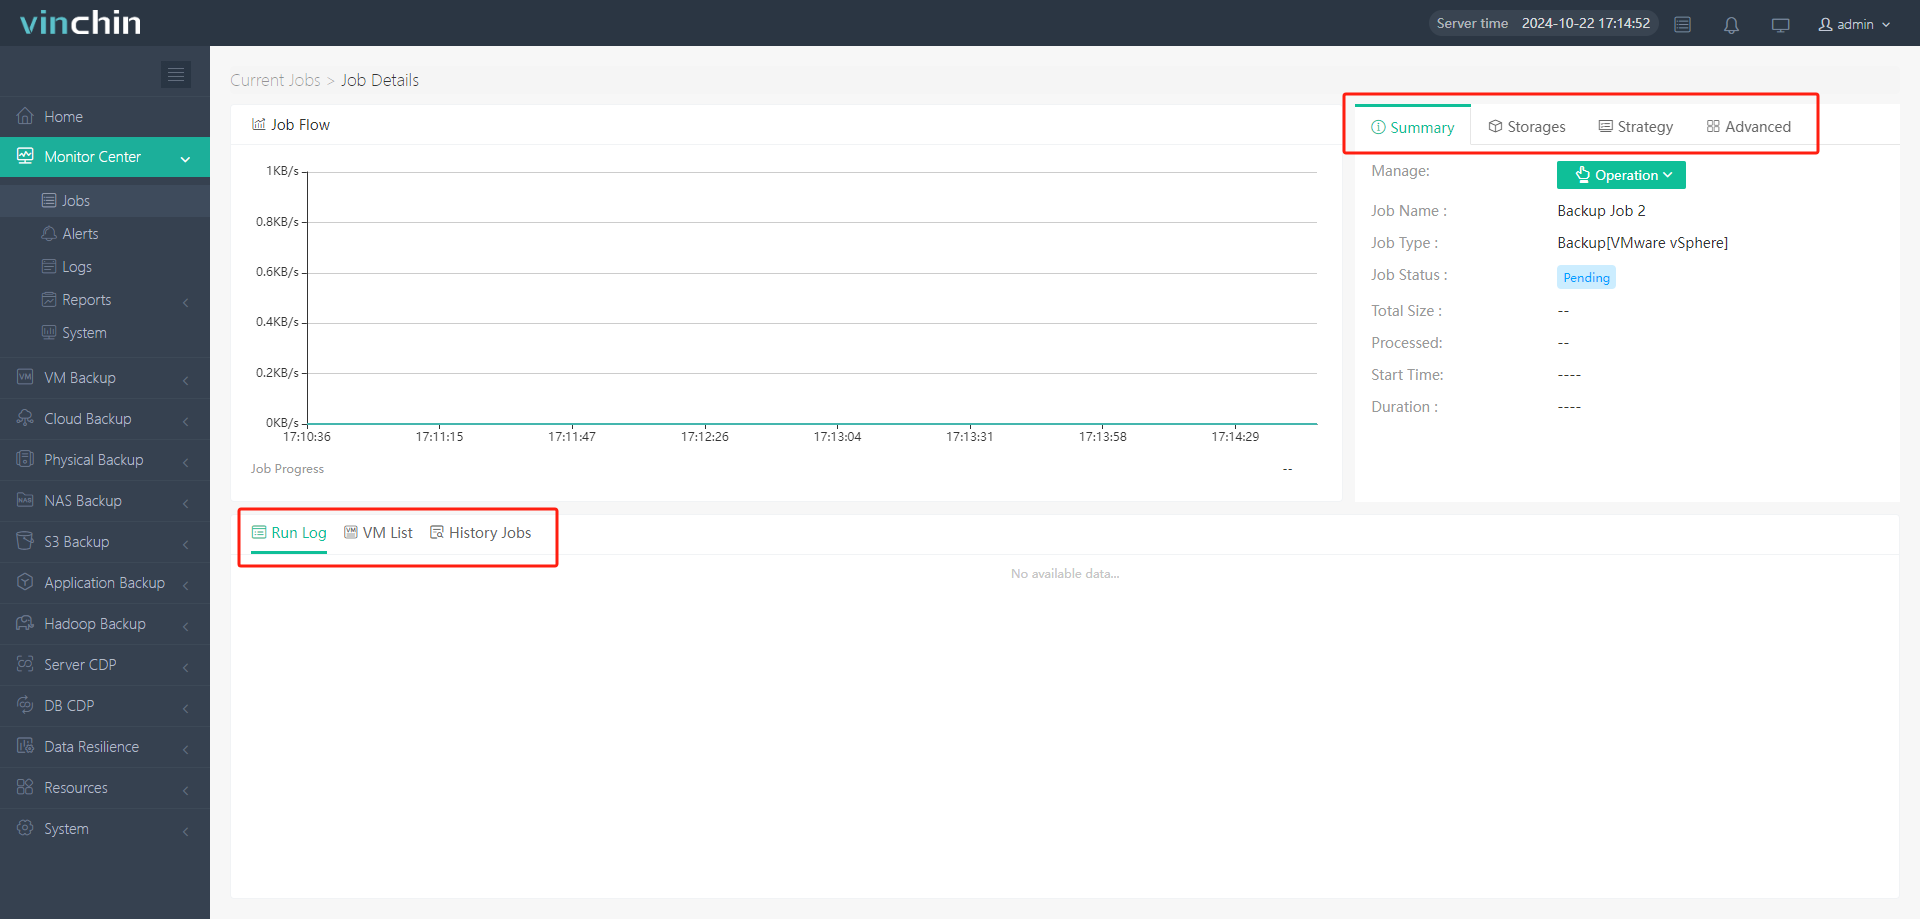
Click the [+] to expand the job information, also you can click the job's name to enter the Job Details page, on this page, you can check the Run Log to check job progress and other exception information, Check the data transmission status of the backup resource and enable backups for single/multiple backup resource under the VM List, check the History Jobs under this job. On the Right-Top of this page, you can view the configuration information of the job.
History Jobs
On Monitor Center > Jobs > History Jobs, You can open the history jobs page to view previous completed jobs such as success, fail, or exception.
You can search for jobs by jobs name, Filters or Time Range.
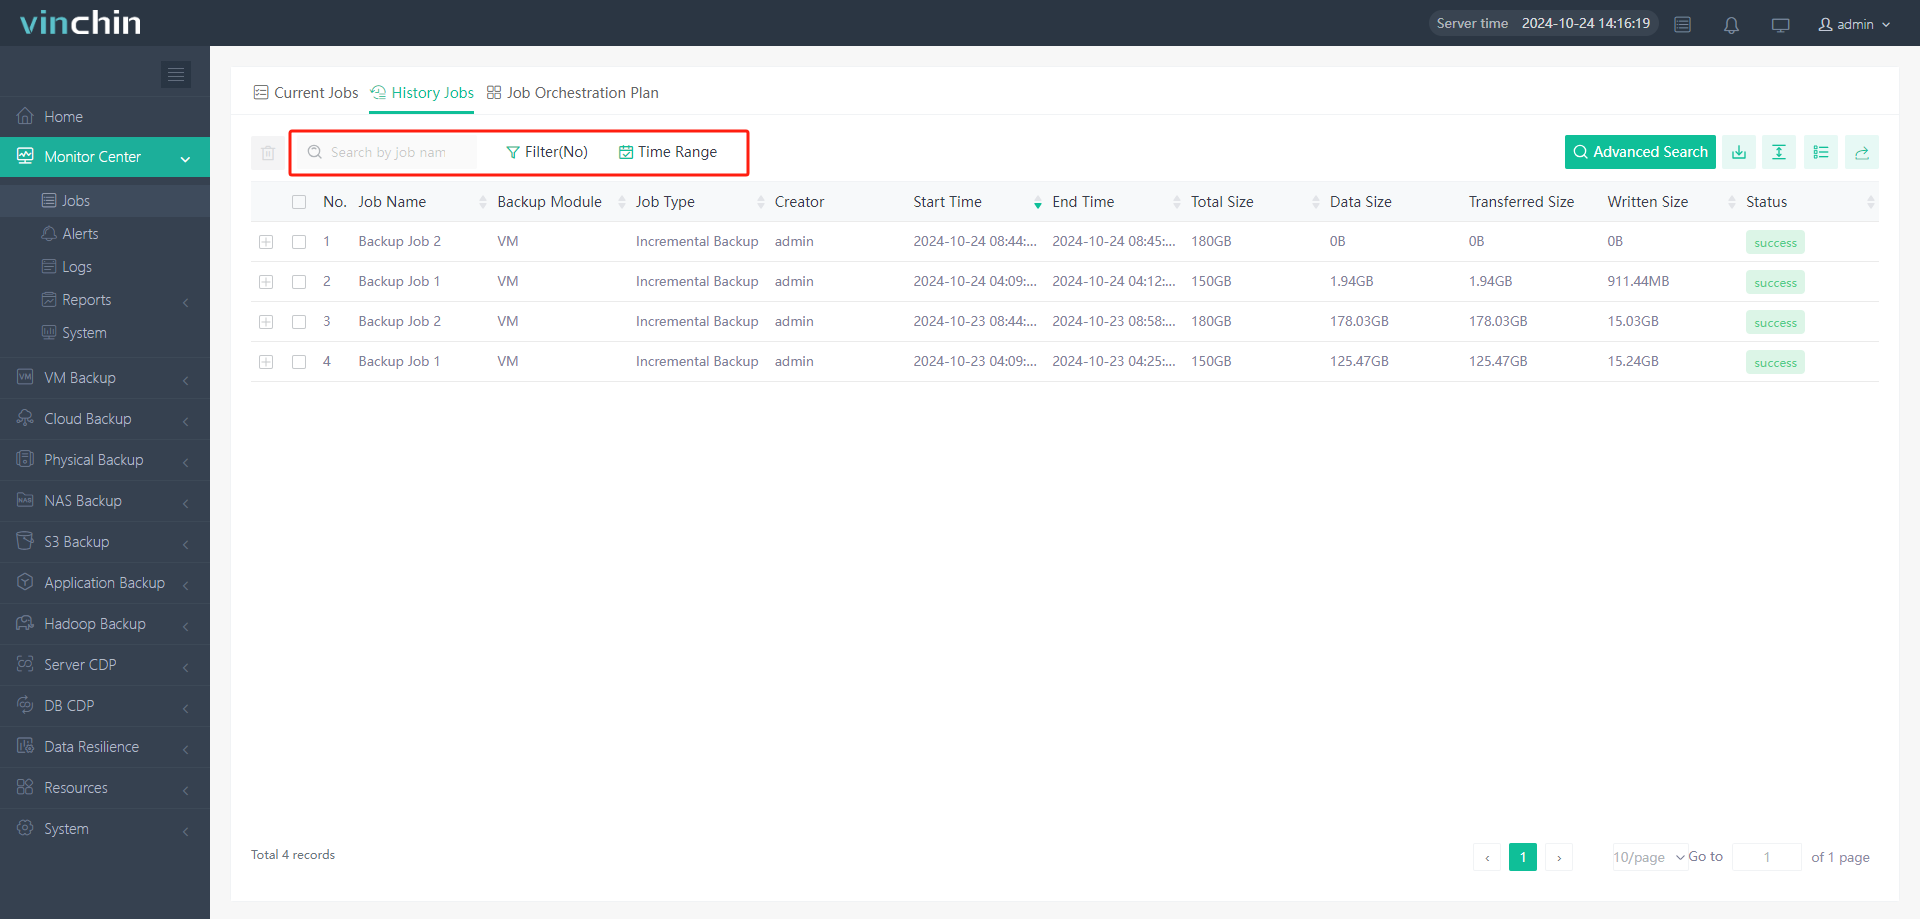
When you no longer need this history information, you can select one of multiple history jobs, click the  button to delete.
Notice
When you delete the information on the history job, the information will also be deleted on the Job's history page.
History jobs supports Advanced Search, Download Jobs Logs, Change Column and Export data.
Job Orchestration Plan
In order to manage and customize job time execution strategies more efficiently, Job Orchestration Plan can batch modify or unify the time policies or multiple jobs, thus avoiding the tedious process of editing time polices separately of each job, as a supplement and optimization to the management of time policies for individual jobs.
At present, Job Orchestration Plan can support Virtual machine, Public Cloud, Private Cloud, Database, File, NAS, Server Backup, Exchange and Object Storage Jobs initiation planning, batch running, etc.
Before you create the Job Orchestration Plan, you need to create the job in advance.
Notice 1. Job Orchestration Plan does not support CDP, once-off job, Instant Restore job and Granular Restore job. 2. The initiation of the orchestration plan is based on the Schedule settings, each job phase will be executed in order, the initiation of each phase is based on respective trigger conditions, the jobs within the same phase will run simultaneously.
Add Job Orchestration Plan
On Job Orchestration Plan page, click Create Button, Vinchin server will redirect to Add Job Orchestration Plan page.
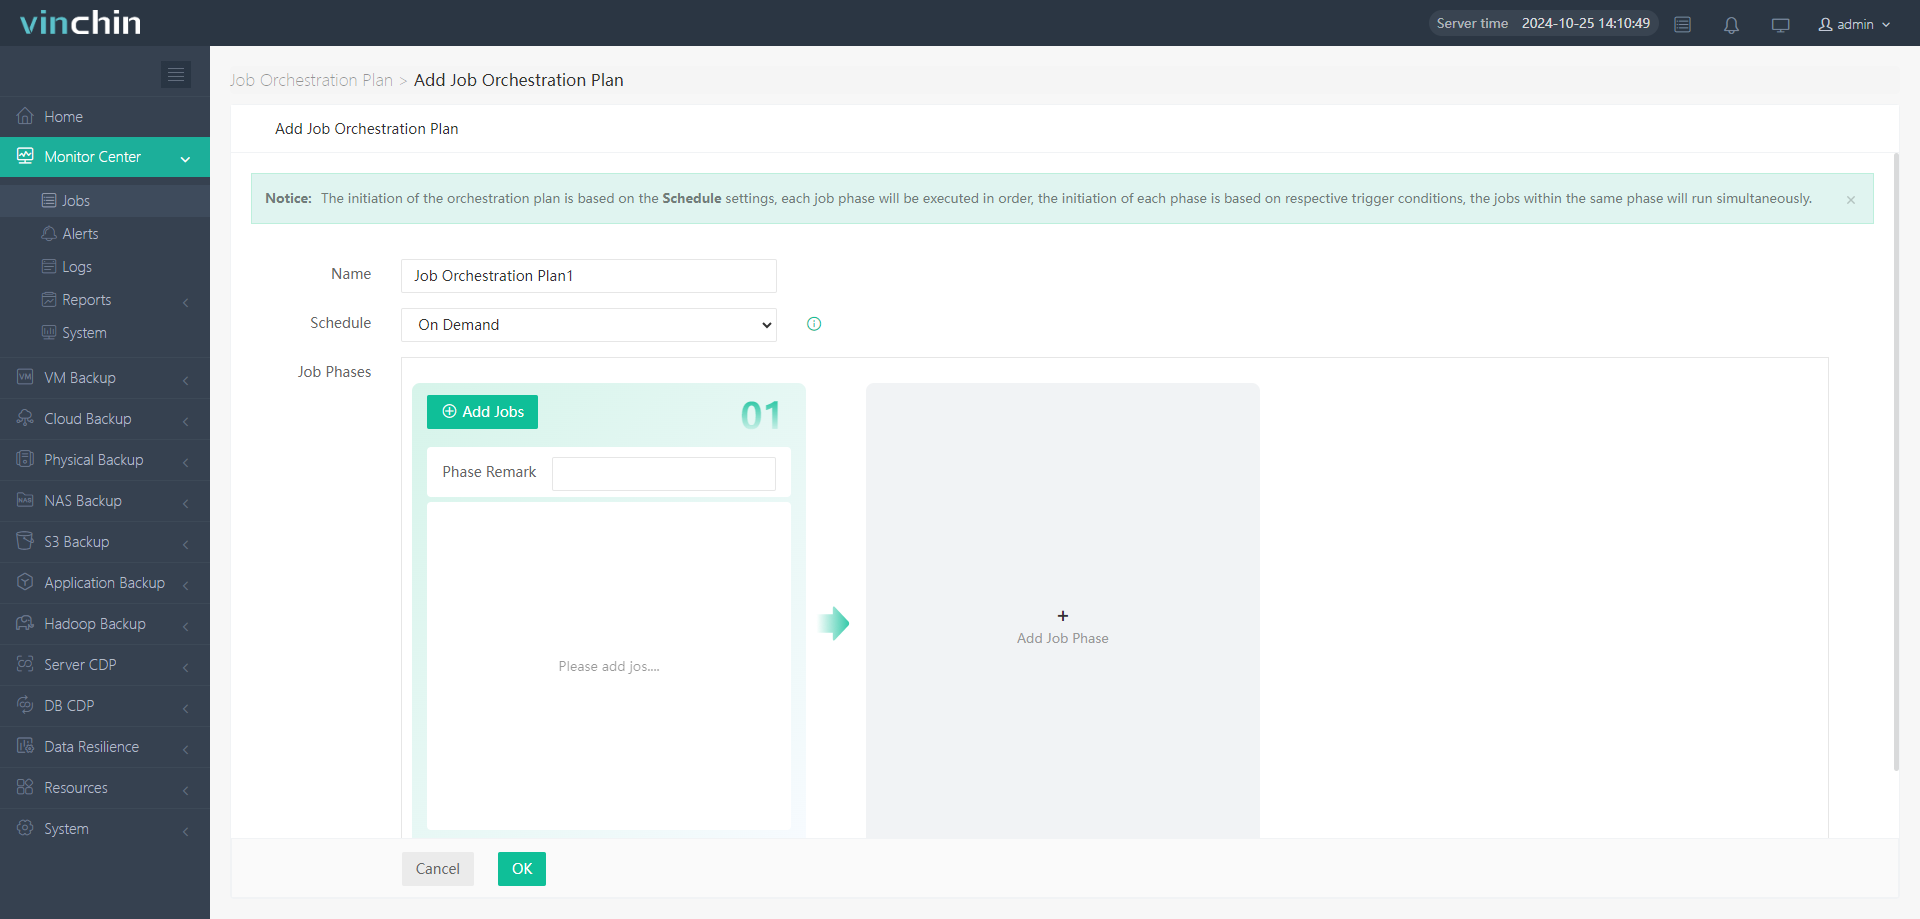
Name: name the Job Orchestration plan.
Schedule: select this as On Demand to manually start the Orchestration plan, Custom Strategy to set a time schedule below to automatically start the plan, for Reuse Job Strategy, the plan will start executing according to the job settings of phase 1, if there are multiple jobs in phase, you can choose the start time of different jobs in the Select Policy to execute the plan.
Job Phases: on phase 1, you can click Add Jobs button to select the specific jobs, in the pop-up windows, you can choose the Job Type as Backup job, Restore job, Copy job, Archive Job or verification, set the Backup Mode for the backup jobs in this phase, you can use Search box, Filter and Time Range to select the jobs.
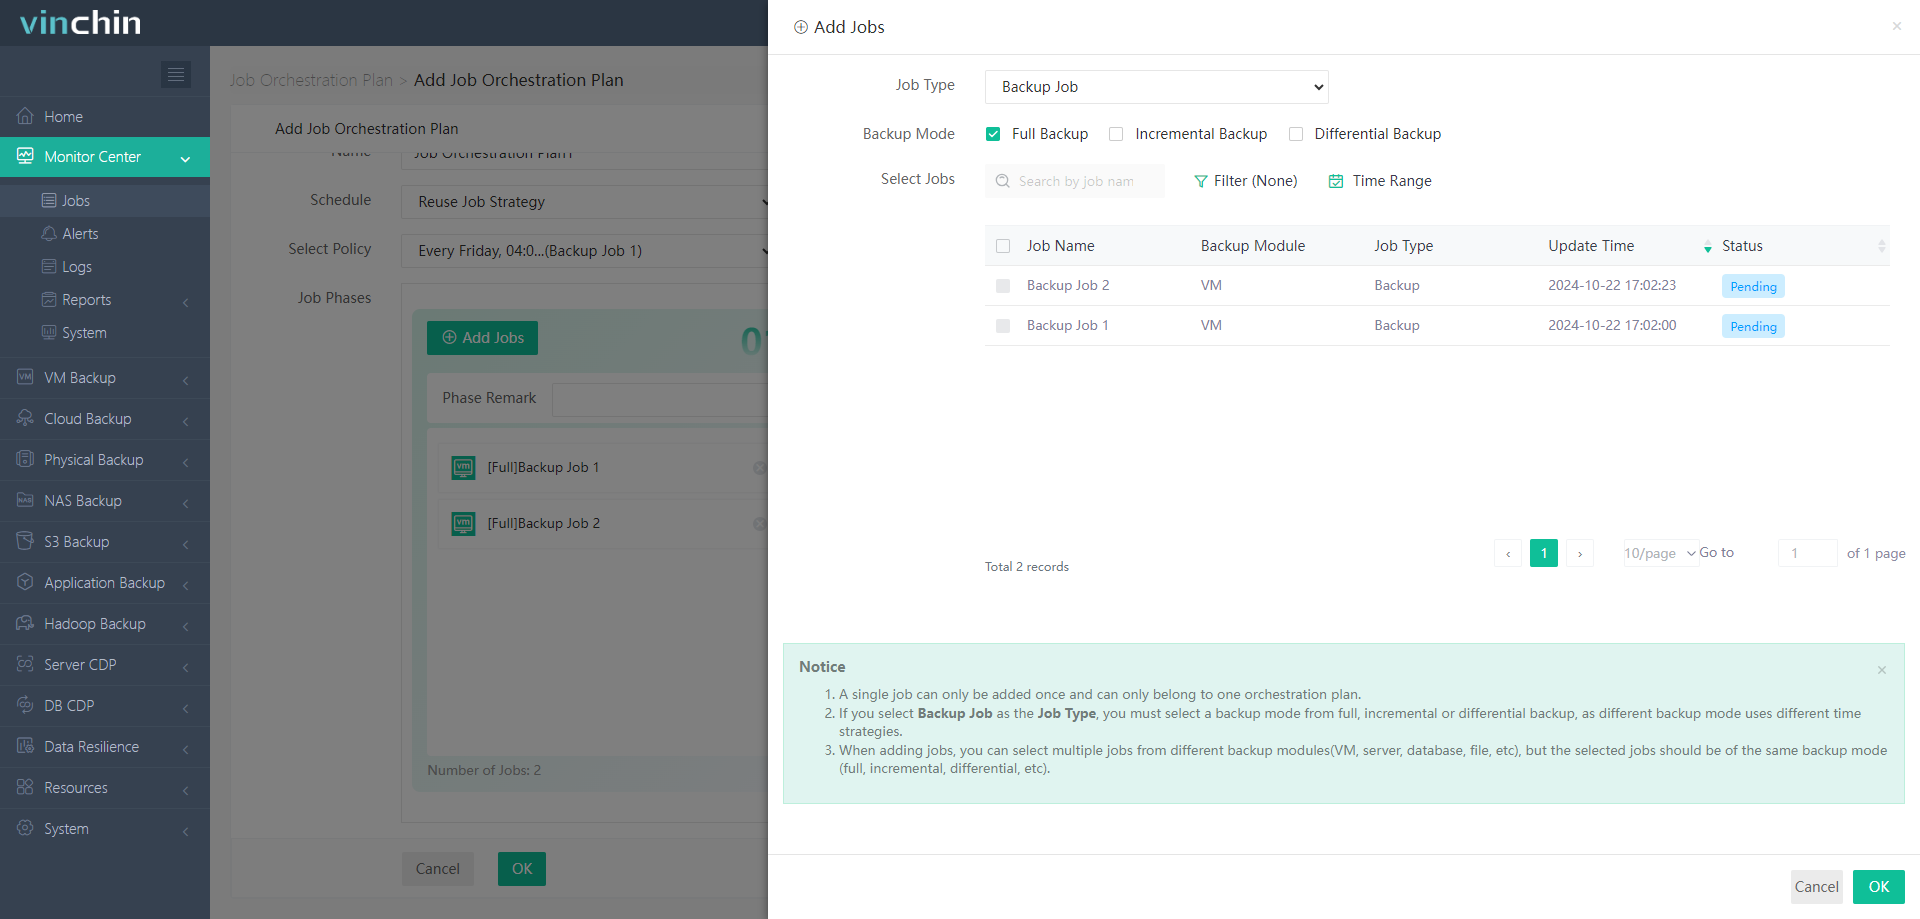
After setting the plan for phase 1, the steps for adding plan in the subsequent phase are also the same as those for the phase 1. For the subsequent phase, you need to select the Trigger Condition.
Event-based Triggers: once you select this, you can choose the Trigger Events below, the events can be All successful, Any successful, Some successful, All failed, Any failed, some failed.
Time-based Triggers: Set a time interval from the start of the previous phase, after which the plan will begin to run.
You can select both Event-based and Time-based, In this case, the stage plan will first determine the triggering conditions of the Event-based, and then determine the Time-based.
After adding a job, you can drag it between different phase, or delete the job or phase.
Notice
1. A single job can only be added once and can only belong to one orchestration plan. 2. If you select Backup Job as the Job Type, you must select a backup mode from full, incremental or differential backup, as different backup mode uses different time strategies. If the first backup is not a full backup, will downgrade to full backup 3. When adding jobs, you can select multiple jobs from different backup modules(VM, server, database, file, etc), but the selected jobs should be of the same backup mode (full, incremental, differential, etc).
Once you set all plan, you can click OK to button to finish the Orchestration Plan, Vinchin server will redirect to Monitor Center > Job Orchestration Plan page. You can click Options button to Schedule on, Start, Edit, Stop or Delete this Orchestration Plan. Also you can click the Plan's name and enter the details page, You can check the Summary and History.